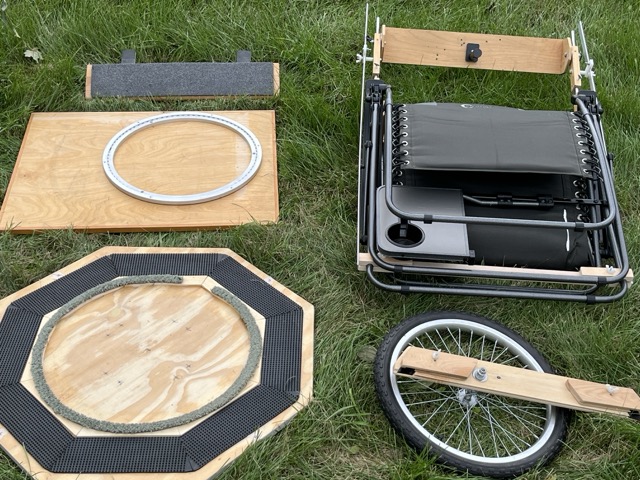
Assembly takes just a couple of minutes, once the bino-chair sections out and ready to go.
There are 5 sections, including the zero gravity chair itself. Start with the easily stacked base sections:
- Lay the octagonal base down onto a small mat or ground sheet. Adjust its leveler legs to prevent wobbling on uneven ground. It doesn’t need to be completely level.
- Then simply stack the chair platform on top of the octagonal base. The turntable bearing on the underside of the chair platform will sit in the friction cavity of the octagonal base.
- Open up the collapsed chair assembly and place it onto the four rubber guides on the chair platform. Regarding the zero gravity chair: prior to assembly, it had been collapsed and stored away with its binocular holder attached.
Clamp on the remaining sections:
- Slide in the chair-front counterweight, which normally doesn’t require any weight adjustment.
- Clamp on the wheel mount crossbar with the two nylon wingnuts. This mount self-adjusts to the chair frame geometry and to the required height off of the octagonal base track.
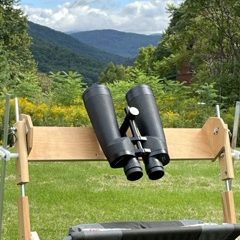
- Finally, slide in your binoculars and adjust the rear counterweight if necessary.
This work © 2026 by Milky Way Lounge is licensed under CC BY-NC 4.0
Please follow and like us:
Leave a Reply